Key points
• Check Compatibility and Follow Local Laws: Make sure your RV’s waste disposal works with a home septic system before you start. Also, talk to the local health office or city hall to know about rules and get the permits you need. If you don’t connect things right, it can make sanitation problems and you could get in trouble with the law.
• Use the Right Adapter and Pipes: You’ll need a special adapter to connect your RV to the septic tank. Hook this adapter to PVC pipes that run to where your septic system comes in. It’s important for the connection to be secure so there’s no leaking or smelly issues. Lay the pipes so they tilt down a bit – this helps waste go down into the septic system just by gravity.
• Keep Up Maintenance and Check-Ups: After hooking up your RV to the septic, keep tabs on the system to avoid blockages or other problems. Look it over regularly and clean out the tank when it’s time. Don’t flush stuff down that’ll jam things up. Plus, make sure any chemicals you use in your RV won’t mess with the good bacteria in your septic system.
Contents
- 1 Key points
- 2 Understanding RV Waste Disposal Needs
- 3 The Importance of Proper Septic Hookup
- 4 Overview of a Permanent RV to Septic Tank Connection
- 5 RV Septic System Components
- 6 Choosing the Right Adapter and Fittings
- 7 Designing a Gravity-fed System vs. a Pump System
- 8 Integration with Existing Septic Systems
- 9 Excavation and Trenching
- 10 Pipe Laying and Connection
- 11 Backfilling and Site Restoration
- 12 Testing for Leaks and Efficiency
- 13 Long-term Maintenance Considerations
- 13.1 Handling Blackwater Safely
- 13.2 Preventing Cross-Contamination
- 13.3 Emergency Procedures for Spills and Leaks
- 13.4 Regular Inspection and Cleaning of RV Tanks
- 13.5 Identifying Common Issues with Permanent Hookups
- 13.6 Repair and Replacement of Septic Hookup Components
- 13.7 Staying Informed on Septic Management Practices
- 14 Updating Old Septic Systems to Follow Rules
- 15 Adapting to Technological Advances in Waste Management
- 16 Frequently Asked Questions (FAQ)
Understanding RV Waste Disposal Needs

An RV creates two kinds of wastewater: grey water, which comes out of your sinks and showers, and black water, that’s full of sewage from the toilet. You’ve gotta get rid of both the right way to dodge health risks and not wreck the environment. If you’re not just camping for a weekend but parking your RV in one spot for a while, you should think about a longer-term fix for dealing with waste. Hooking up your RV to a septic system permanently is often what people go for.
The Importance of Proper Septic Hookup
If you don’t connect your RV to a septic system the right way, you could face a bunch of issues. These include bad smells and even harmful health hazards if sewage starts leaking. Plus, you could mess up the septic system, or find yourself in hot water with the law for not following the rules. So, hooking up your septic system properly is more than important—it’s critical.
Overview of a Permanent RV to Septic Tank Connection

Connecting your RV to a septic tank permanently takes a few steps. You must first find the septic tank and make sure you can get to it. Then, check with your local government to see if you need any permits.
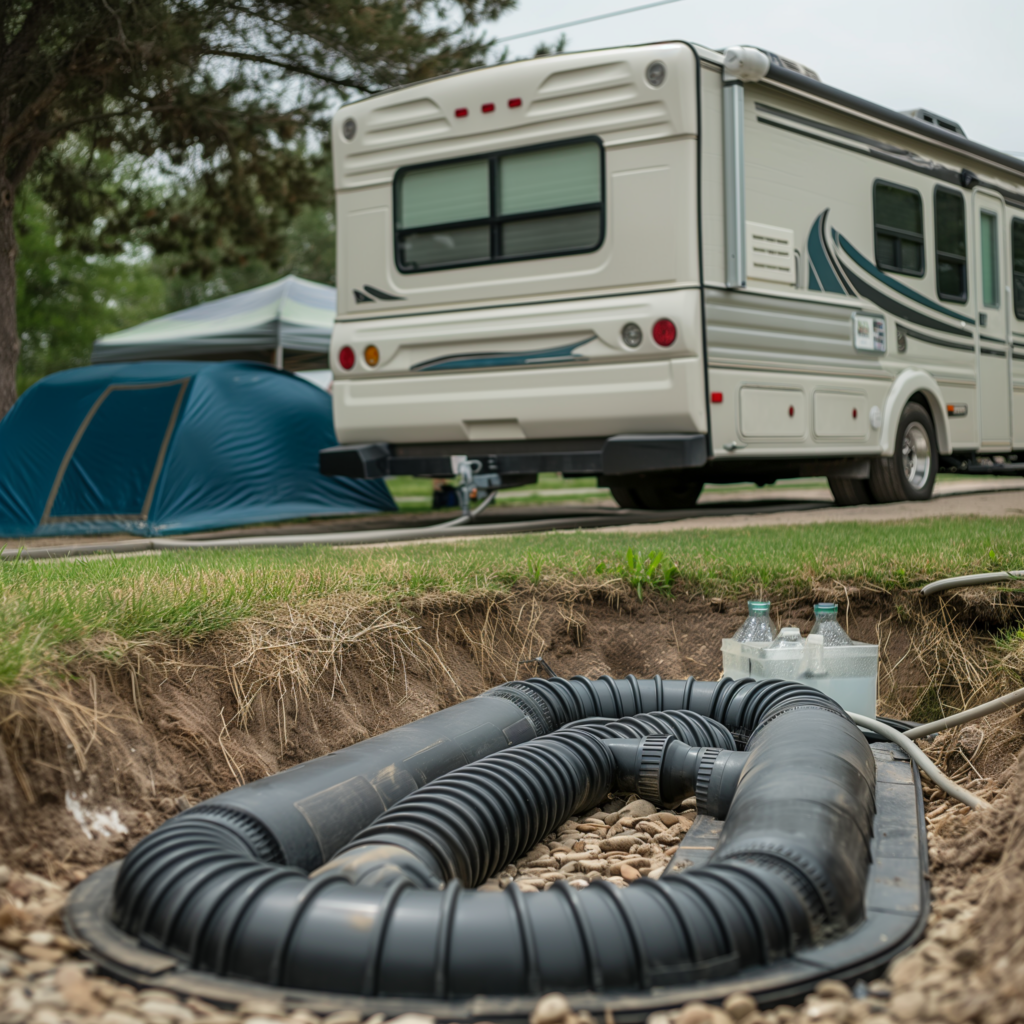
Start by setting up a reliable connector for your RV’s sewer hose. Pick a high-quality hose that’s made for long-term use and attach it tightly to prevent leaking.
Then, arrange for the hose to have a downward slope—this lets gravity help move waste along. Be sure to use the correct fittings and supports to keep everything stable. Regularly check on your system and pump the septic tank when needed. Skimping on installation or upkeep could lead to problems, so always stick to best practices.
Legal and Environmental Considerations
Before you start on a permanent connection for your RV to a septic system, you must know the legal and environmental regulations in your area. From local health codes to state environmental laws, make sure you have approval from the authorities and align with all legal requirements.
Zoning Laws
Zoning rules may affect whether you can hook up your RV to a septic system permanently. It varies by location—some areas allow it, others don’t. Double-check with your local zoning office about the regulations in your area.
Health and Safety Standards
When linking an RV to permanent sewage systems, health and safety are crucial. It’s not just about adhering to the law but also making sure the setup remains harmless for everyone. Abide by standards that manage waste treatment and prevent water contamination to keep everyone safe.
Assessing and Preparing the Site
Evaluate the site meticulously before installing anything. Look at the land’s slope, subsurface conditions, and how everything is laid out. These factors will influence how efficiently your system functions once installed.
Type of Soil and Water Absorption
The soil at your site plays a significant role in septic waste treatment—not all soils are equal in this regard. Perc (or percolation) tests are conducted to see if the soil absorbs liquids well enough for effective waste processing. If the soil doesn’t pass the test, rethinking or changing your setup may be necessary.
Precise Positioning of Current Septic Components
It’s also important to locate where your current septic components are placed. Knowing the tank, pipe, and drain field locations helps avoid complications during installation and ensures compliance with spacing regulations.
RV Septic System Components
The holding tanks in your RV are essential for collecting waste. Usually, there’s a separate one for toilet waste, known as black water, and another for sink and shower water, called gray water. You have to empty these regularly to maintain cleanliness and prevent bad odors.
Valves and Piping
Valves and pipes guide the waste from your tanks to the septic system. You need a reliable mechanism that lets you control when waste leaves the tanks and goes into the septic system—like doors that open and close when necessary. The piping should also be tough and leak-proof to avoid any problems.
Keep in mind, setting up a permanent hookup takes effort. There’s a whole list of things to think about. But when it’s done correctly, it brings convenience and peace of mind—ideal for comfortable travel while maintaining some stability.
If you’re aiming to connect your RV to an existing septic system permanently, careful planning is important. You must first check local laws to make sure your setup complies with health and safety standards. Creating a detailed plan is crucial and should include where your RV will sit in relation to the septic tank and the drain field. This determines how doable your project is and what sort of permits you’ll need.
Choosing the Right Adapter and Fittings
It’s key to pick the right adapters and fittings to connect your RV smoothly to the septic system. The adaptor has to fit the RV’s waste outlet perfectly. Also, buying strong, long-lasting parts is vital to prevent leaks and protect the environment. Regular check-ups of these parts can stop issues before they start.
Designing a Gravity-fed System vs. a Pump System
Choosing between a gravity-fed system or a pump system depends on how high your RV is compared to the septic tank. If your RV is up high, gravity helps waste move down on its own. But, if your RV is lower than the septic tank, you might need a pump to push the waste up. Each option has its own pros and cons that you’ve got to think about when you’re planning the setup.
Integration with Existing Septic Systems
Connecting a permanent RV hookup to an existing septic system requires you to fully grasp how much it can handle and its design. You need to figure out if your current septic tank and drain field can take on the extra waste from the RV without causing any problems. If there’s enough room for more waste, hooking up your RV should be pretty simple, as long as everything fits together correctly and is tightly joined.
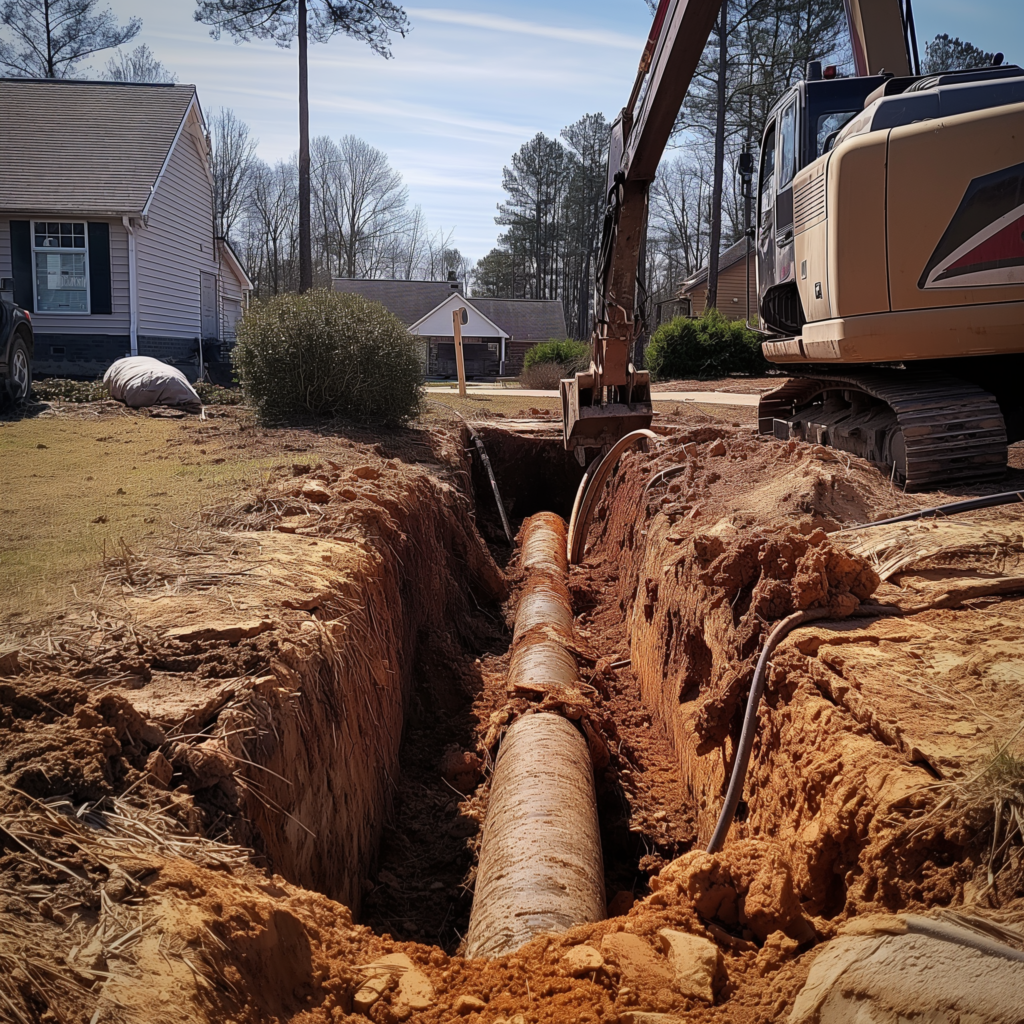
Excavation and Trenching
Start by digging a trench to install the connection pipes. This trench must stretch from the RV to the septic system, following local regulations that usually include digging below the frost line to dodge any freezing issues. It’s crucial to dig the trench right to make sure waste moves easily, steering clear of harsh turns and extreme inclines.
Pipe Laying and Connection
After preparing the trench, it’s time to put down sewer pipes made of PVC or ABS. They’re strong and don’t rust easily. The pipes should tilt gently in the direction of the septic system, with a slope of about a quarter-inch drop for every foot; this makes sure waste moves smoothly. You need to join the pipes well using the right connectors, joints, and glue that matches your pipe type. This is to ensure there are no leaks.
Backfilling and Site Restoration
Once you’ve laid the pipes, start filling in the trench again. Take the dirt that was dug out earlier and pack it in around the pipes carefully but with enough force to push out any trapped air. This’ll help prevent the ground from sinking or the pipes from shifting later on. After the trench is full, try to get the area looking like it did before, and if you had to tear up any grass, don’t forget to plant some new seeds.
Testing for Leaks and Efficiency
It’s critical to test the new hookup for leaks. You do this by letting water run through the system to see if any is leaking out. At the same time, you should look at how well the water flows to spot any clogs or signs that the pipes might not be put in right,
Long-term Maintenance Considerations
To keep things running smoothly for the long haul, it’s a smart move to do regular check-ups. Make sure to inspect connections often, clear out any jams before they get worse, and avoid tossing chemicals or stuff that won’t break down into your septic system – they can mess with the bacteria balance and cause big problems.
Handling Blackwater Safely
Dealing with blackwater – the waste from your toilet – is serious business because of its dangerous nature. Keep these points in mind:
- Dress in safety gear like gloves and goggles when you’re working on your RV’s blackwater setup to stay clear of bad germs.
- Make certain that your blackwater tank is tight and not leaking where it connects to the septic system.
- Regularly check your pipes and valves for damage and swap them out if they’re not up to snuff.
- Get rid of blackwater by the book, following what your local laws say.
Preventing Cross-Contamination
Keep drinking water away from wastewater at all costs to prevent cross-contamination. Here’s how:
- Use different hoses for fresh water and waste, and make sure you can tell them apart by color or label.
- Put backflow preventers on your freshwater pipes for extra protection.
- Clean all the gear you use for fresh water often.
- Store hoses for drinking water far from any blackwater gear or dirty areas.
Emergency Procedures for Spills and Leaks
If spills or leaks happen:
- Cut off the flow right away by closing valves or pulling supply lines apart, as long as it’s safe.
- Use things like kitty litter or specific spill kits to soak up the mess.
- Spray the spot with disinfectant to kill any leftover bugs.
- If it’s a big spill, tell the environment folks fast and do what they tell you.
- Have a plan for spills so you know just what to do when there’s trouble.
Remember these points to keep your RV hookup clean and safe, which also protects everyone’s health when dealing with waste. The trick to a smooth-running RV hookup is keeping up with maintenance. Always be on the lookout for potential troubles and don’t hesitate to tidy up tanks regularly. Let’s look closer at maintaining your setup.
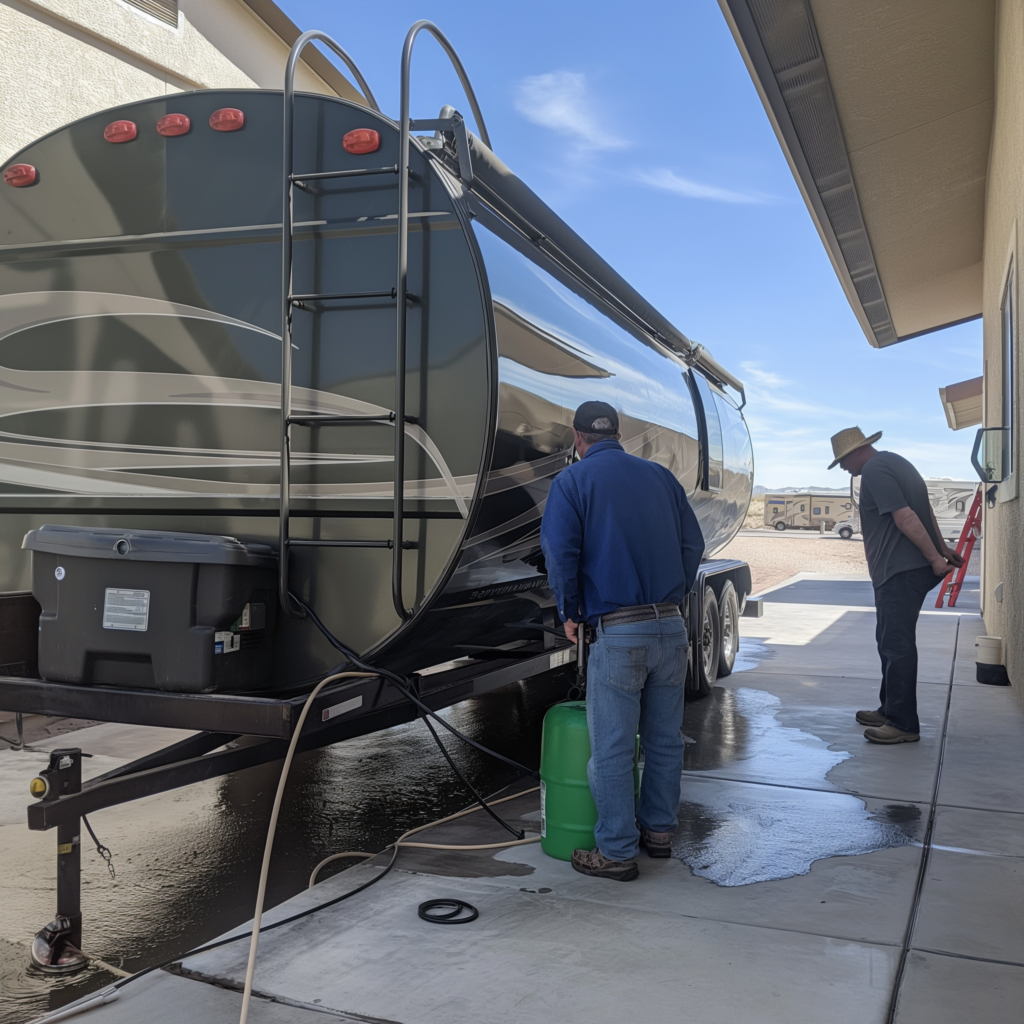
Regular Inspection and Cleaning of RV Tanks
Avoid clogs and stay efficient by cleaning and inspecting tanks often. Watch tank levels and check for blockages or anything odd. A good rinse with the right cleaners will keep everything moving along nicely. Get tanks serviced to stop gunk from building up, which can cause major issues if ignored. If you’re in over your head, pros can handle it and make sure everything’s A-okay.
Identifying Common Issues with Permanent Hookups
Trouble with permanent RV septic systems might pop up as clogs, leaks, or bad smells. Slow drains or mushy ground by the septic area are giveaway signs. A nasty smell could point to a leak or vent problem too. Pay attention to these warning signs so you can fix small problems before they become giant pains.
Repair and Replacement of Septic Hookup Components
If something’s broken, replace or fix it quick. You’ll need to change parts like valves or pipes now and then because of wear or damage. Getting help from experts ensures the fixes are done right. It’s not just convenience at stake—it’s about protecting the environment as well.
Staying on top of maintenance saves time, money, and hassle. Don’t slack off until there’s a crisis—keep a sharp eye and deal with your RV’s septic connection properly.
If you’ve got an RV and are thinking about a permanent septic hookup, knowing and following the latest rules is crucial to avoid trouble. Laws change often to protect our surroundings from waste woes. You’ve got to keep up with them, maybe by talking to local health offices or eco experts. Getting it done right helps you meet standards and steer clear of fines.
Staying Informed on Septic Management Practices
Becoming savvy on septic system management is essential for RV owners looking at a fixed hookup. Regularly brush up on guidelines from health and clean-up departments. Going to workshops, reading relevant stuff, and joining RV groups can keep you clued in about the dos and don’ts. This know-how is key for keeping both nature and your septic system happy for years to come.
Updating Old Septic Systems to Follow Rules
If your current septic system isn’t up to date with today’s rules, you may have to upgrade it. These changes can be minor tweaks or big revamps, based on what the law now says. It’s smart to get help from experts who know exactly what the new standards are and how to make the necessary changes quickly, so you won’t have much trouble using your system.
Adapting to Technological Advances in Waste Management
As technology advances, the waste management sector keeps transforming, introducing more effective and environmentally friendly methods. For RV owners, these changes can mean better septic systems that are gentler on the environment and make handling waste easier. Think of tech upgrades as an investment for your RV’s performance and the planet’s health.
Choosing wisely when it comes to your RV’s septic connections can spare you time, save money, and prevent legal issues later on. Plus, these choices help protect the local nature you love.
This detailed guide discusses RV septic system hookups and includes helpful appendices. These extra sections offer important details to help you understand and smoothly set up a lasting RV septic system.
Frequently Asked Questions (FAQ)
How does one start the process of connecting an RV to a home septic system?
When you’re preparing to link your RV to a home septic system, the first step involves gaining a clear understanding of local health and safety regulations from your SEPTIC KNOWLEDGE CENTER or similar authority. Ensure that your existing septic tank has sufficient capacity to handle the extra waste. If you’re a First Time Camper or new to RV living, watching a How To Hook Up Your Sewer Hose video tutorial can provide valuable insights into the basic procedure. Typically, you’ll need PVC pipe to create a direct line from your RV to your septic tank. The episode of Keystone RV’s series on system maintenance may serve as a practical guide for this project.
What size septic tank is recommended for RV waste disposal?
The appropriate size of a septic tank for an RV depends on various factors, including the number of people using the system, the frequency of use, and the types of waste being disposed. For instance, an RV visiting a site transiently might have different needs compared to one stationed at a mobile home park. Matt & Bart may discuss in their episode how general averages could be used as a starting point, but for precise specs and capacity considerations, consulting a wastewater treatment system professional with expertise in both home and RV systems is strongly advised. They can determine the max capacity needed by reviewing your specific case.
Can a cluster system be utilized when installing multiple RV hookups?
Indeed, a cluster system can be effectively utilized to serve multiple RVs in areas such as campgrounds or mobile home parks. This type of septic setup allows several units to discharge into a larger centralized septic system instead of individual tanks, thus optimizing space and potentially reducing costs. However, crucial consideration must be given to the cumulative capacity, the balance of solids and effluent produced, and the impact on soil and groundwater. Installation of such systems should only proceed after comprehensive planning and approval by local authorities.
Should I choose a gravity-fed or pump system for my RV's long-term sewer setup?
Choosing between a gravity-fed system or a pump system for your RV’s septic connection largely hinges on the topography of your campground or park site. Gravity systems work best when there’s favorable slope from your RV to the septic tank; meanwhile, a pump system may be necessary if the area is flat or the RV is situated lower than the tank. Consider the episode where visitors to an RV park demonstrated both systems to understand their functionality fully. A septic system installation company can perform an assessment and recommend the best option based on your land’s specifics.
How often should an RV hooked up permanently to a septic tank undergo maintenance?
RVs that are permanently connected to septic tanks should adhere to a disciplined maintenance schedule to prevent issues such as blockages or efficiency losses. The intervals may vary due to factors such as usage patterns and wastewater types produced within your dwelling. Typically, it is advisable to schedule inspections at least once every season for full-time residents; though some, like those who only stay intermittently in their guest house RV, might require less frequent checks. Always keep in mind the need for extra services like grease traps for kitchen wastewater or specialized cleaning solutions designed for RV systems.
Are there special considerations when hooking up an RV sewage hose to a septic system?
There are indeed special considerations when affixing an RV sewage hose to the residential septic system. The hose must be durable and leak-proof to minimize exposure risks to humans and reduce environmental impacts. As highlighted in some instructional videos on sewer hookups, ensuring a secure fit at connective points, and an uninterrupted slope towards the drain field are critical steps. It’s also essential to consider potential thermal expansions and contractions over seasons that may necessitate periodic adjustments or repairs.
What do I need to know about the legality of connecting my RV to a permanent septic system on my property?
Before you proceed with the installation of an RV-to-septic system hookup, you need to familiarize yourself with any zoning laws and environmental regulations that apply within your state or local area. Such rules may inform you about permissible hookup practices, necessary permits, and health standards you must meet. Ignorance is no excuse; failing to comply can result in hefty fines or even forced removal of non-compliant systems. Often, homeowner associations or local environmental health departments will provide all the information necessary—and remember, adherence to these regulations ensures not just legal compliance but also personal safety and environmental protection.
Are there environmental benefits to connecting my RV’s waste disposal directly into a septic tank?
Directly connecting an RV’s waste disposal into a septic tank offers several environmental benefits. This method typically results in better management of blackwater and greywater by utilizing the natural bacterial processes within a septic system. Efficient waste breakdown minimizes the risk of contamination to surrounding soil and water sources compared with traditional waste dump sites. Furthermore, properly maintained connections reduce leakage risks, thus preventing accidental sullage spills—a critical factor discussed among enthusiasts aiming for sustainable camping practices.
What is the ideal location on my property for an RV hookup to my septic?
Selecting the ideal location on your property for an RV hookup involves multiple considerations. You’ll need easy access for vehicles without jeopardizing the established drainage system’s functionality—spacing from other buildings or pads is crucial. Ensure proximity that allows for connection without excessive stretches of piping which could reduce efficiency and increase blockage risks. Additionally, select an area where potential vehicle maintenance won’t disrupt daily functions or create mess near your house; always keep in mind practical aspects like accessibility during all seasons and conditions.
What materials will I need for a durable connection from my RV sewer hose to a traditional septic system?
Creating a durable connection from your RV sewer hose to a traditional septic system requires robust materials capable of withstanding repeated use and varying weather conditions. Typically, high-grade PVC pipes are recommended due to their longevity and resistance to corrosion. Secure fittings, adapters, and possibly extension hoses may also be required depending on distances and configurations involved. Also integral are high-quality seals and gaskets along every joint ensure no leakage occurs throughout the system’s operation life-span—this secures overall efficacy and mitigates repair needs in the long term.

I’m Tim Robberts, a seasoned wastewater treatment & septic system expert with over 40 years of experience in the field. My career began as a septic tank installer, and I quickly gained a reputation for my attention to detail and commitment to excellence. Over the years, I’ve honed my skills in designing, installing, and maintaining septic systems for residential and commercial properties.